If you want to get your hands on the Hailscourge weapon in Enshrouded then this is the guide for you.
Not only does this sword serve as a beacon in the darkest dungeons, but it also carries a backstory as intriguing as the lands you traverse.
How to Get Hailscourge in Enshrouded
The Hailscourge isn’t just an ordinary weapon – it’s a symbol of power and resilience in the face of Enshrouded’s daunting challenges. The Hailscourge is a great one-handed Sword to get, especially early in the game, as it is an upgrade from the Wailing Blade.

This sword doubles as your trusty light source when you’re meandering through those pitch-black dungeons. This means you can now navigate in the dark without holding out a torch. Plus, it comes with a dark backstory that adds a layer of intrigue to your quest.
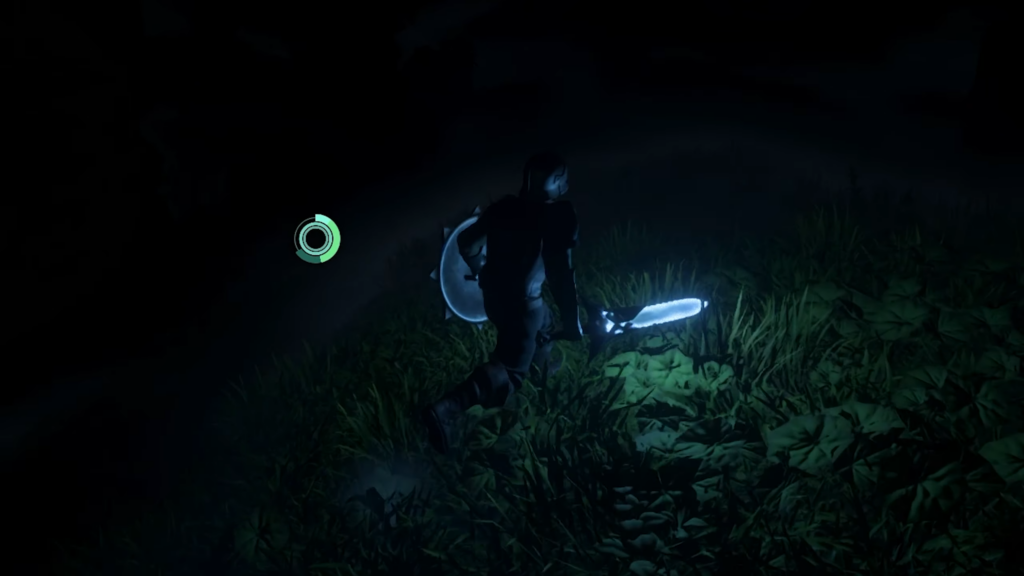
The Start of the Journey: Travel to Ancient Spire – Springlands Fast Travel
Your adventure begins near your base. Look for a towering structure to the north, beyond a broken bridge. This landmark, the Ancient Spire, is your first step toward finding the Hailscourge.
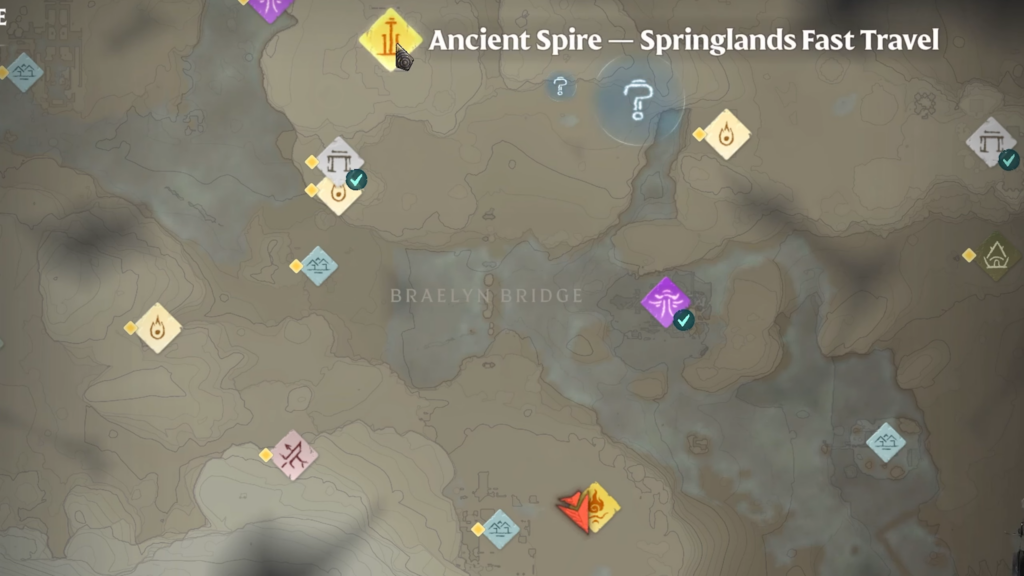
Once you get to the top of the tower, glide northeast from here to reach the Flame Shrine.

Navigate the Path to Hill of Scavengers
From the Ancient Spire, glide northeast, passing the Flame Shrine. You can also stop there for a while to regain stamina.
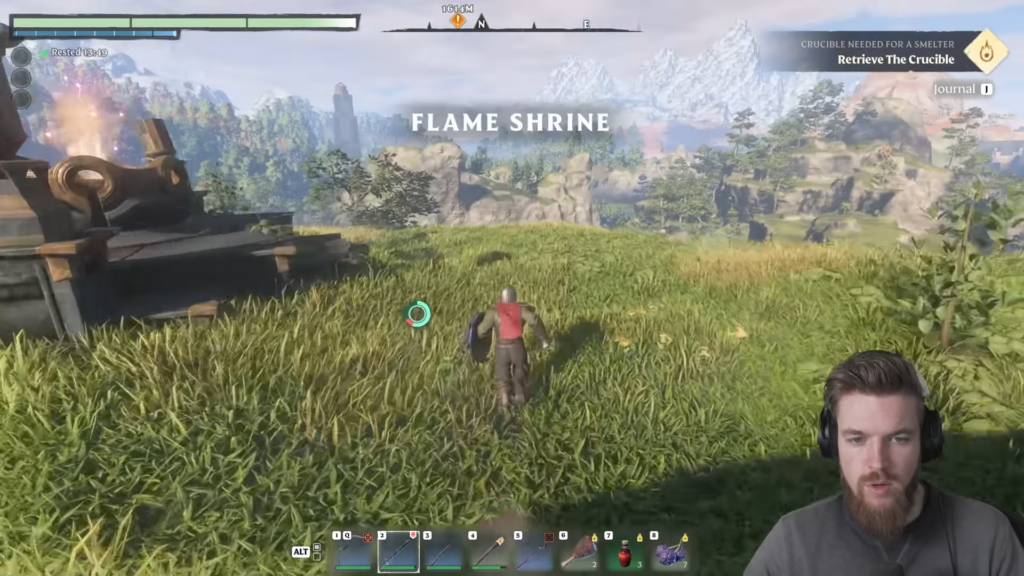
Now continue to glide northeast from the Flame Shrine and you’ll find yourself in the Hill of Scavengers. Go past the Scavengers building. Your goal is to look for a mountain range at your left, which you’ll follow northward of the path.
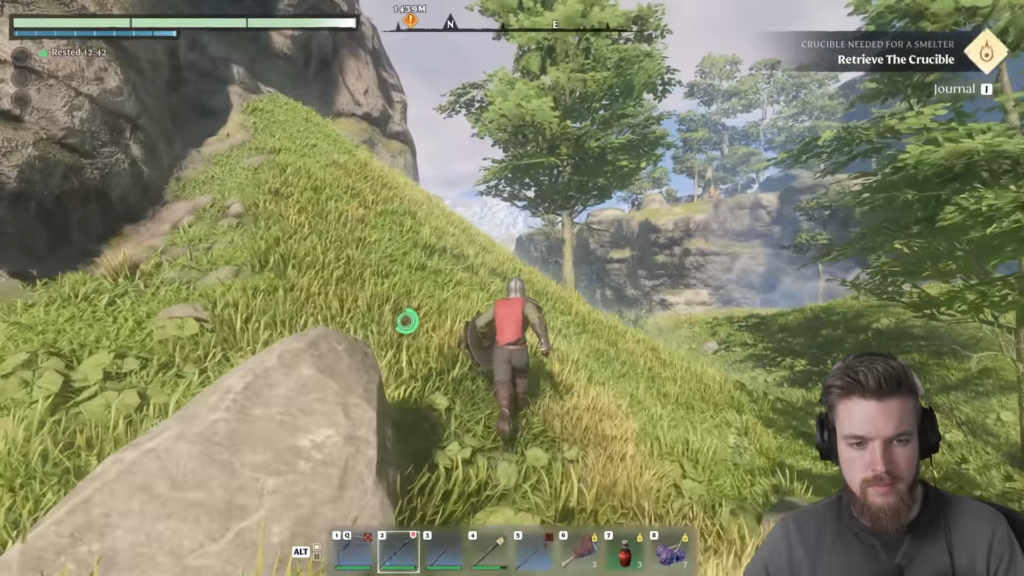
This journey takes you past the Mistbury Catacombs entrance and as well a checkpoint so you can respawn there.
Navigate to Mistbury Catacombs
Follow the path with the rock face on your left, leading you to the entrance of the Mistbury Catacombs.
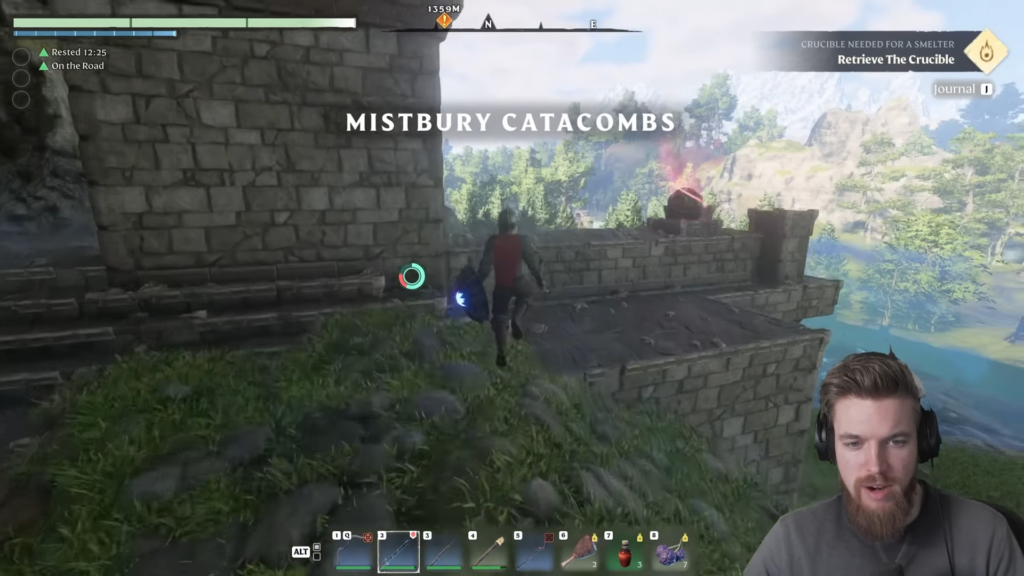
Near the checkpoint, find a cavernous area on the rock face. Use the ridges to climb higher. The back approach is recommended for easier access. You should be able to reach this spot.
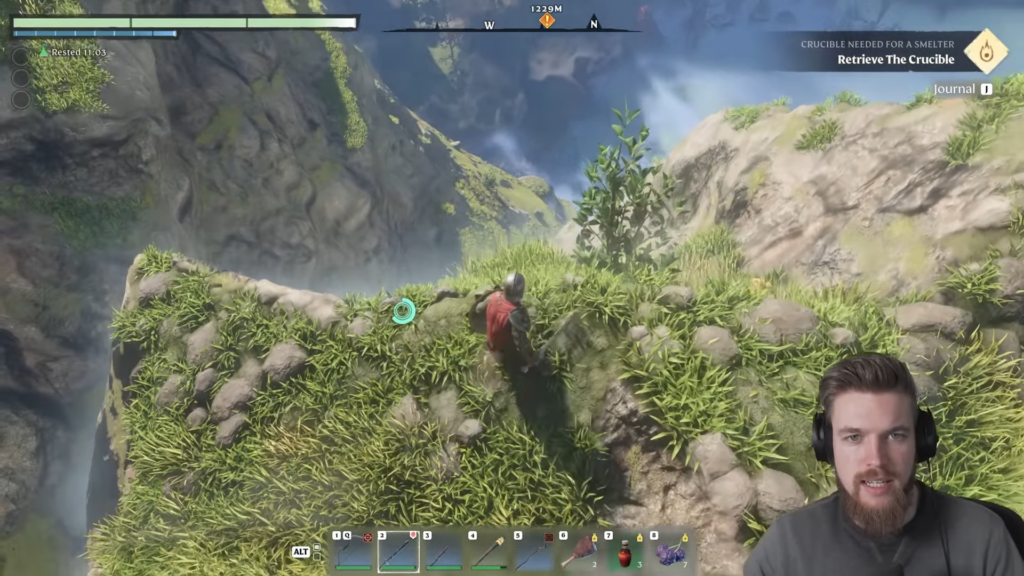
Now glide directly downwards from this spot. Then walk down slowly until you find yourself here.

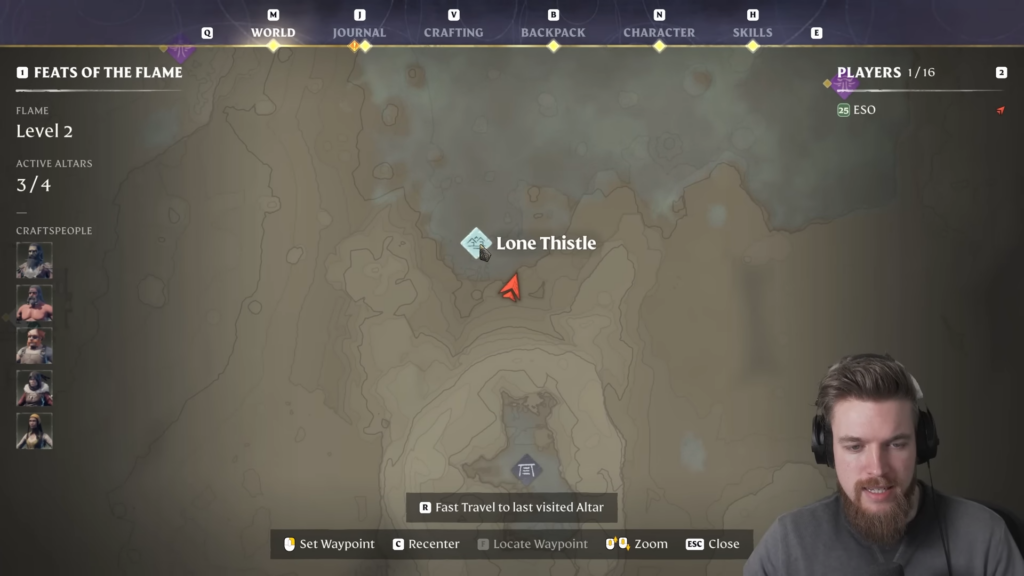
The goal is to get in this area, so you will make your way through by going down slowly and stealthily.
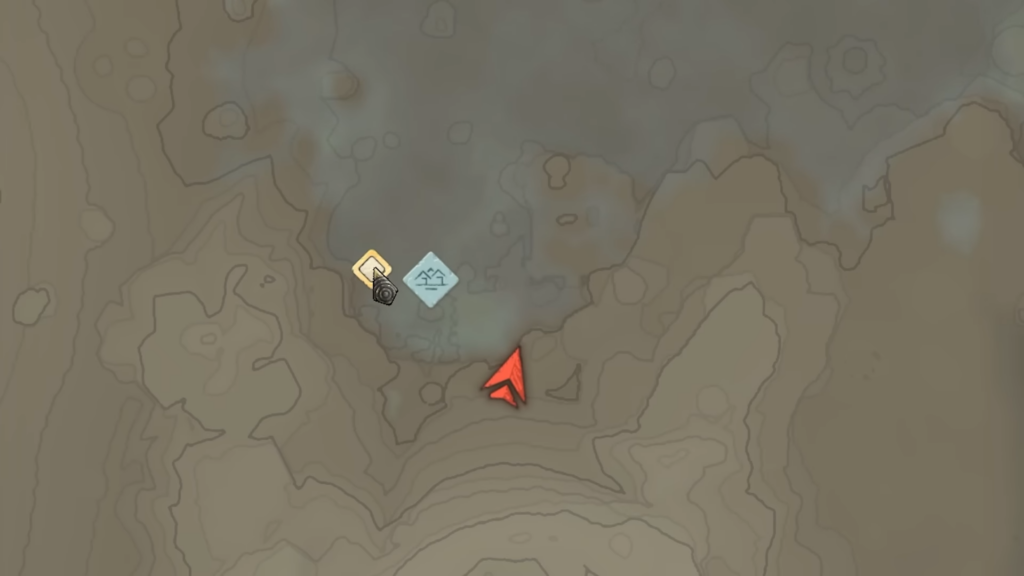
When you successfully made your way through, you’ll now be directly above the graveyard where the Hailscourge is located.

Note: Take note that the shroud is a deadly shroud in this area especially if your Flame Altar is not yet upgraded to level two. You can go and strengthen the Flame Altar to level 2 first before continuing the journey. This will allow you to be in the Shroud longer.
Navigate to the Graveyard
Find your way downwards the cliff by jumping and gliding down to the right until you reach this area.
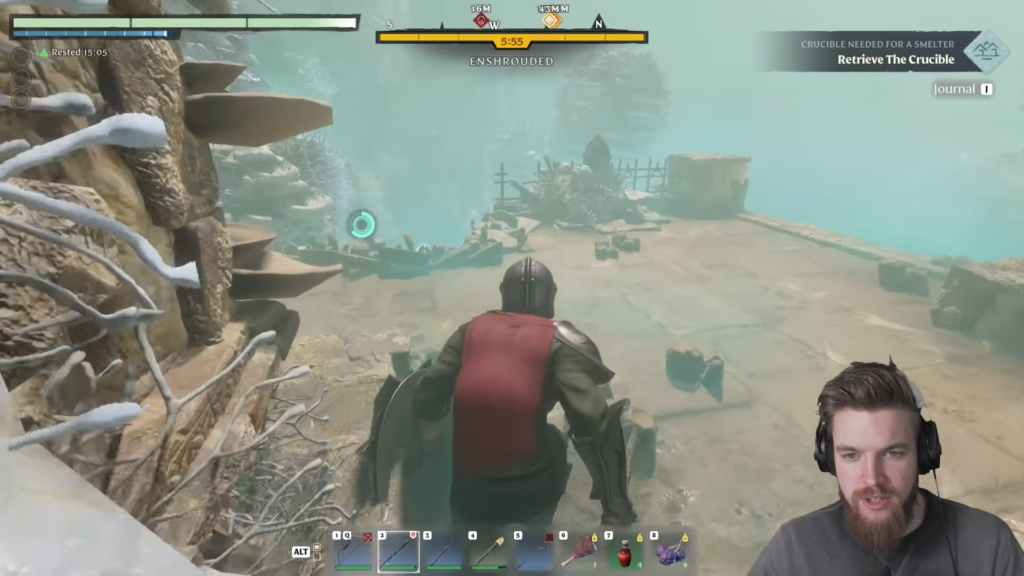
Go down the staircase and sneak around the enemies. Make sure not to get noticed, as these enemies are at level 30. Continue the path and you’ll get to this graveyard that has two gravestones.

Mine the big pile on the left until you see a skeleton with a red glow.
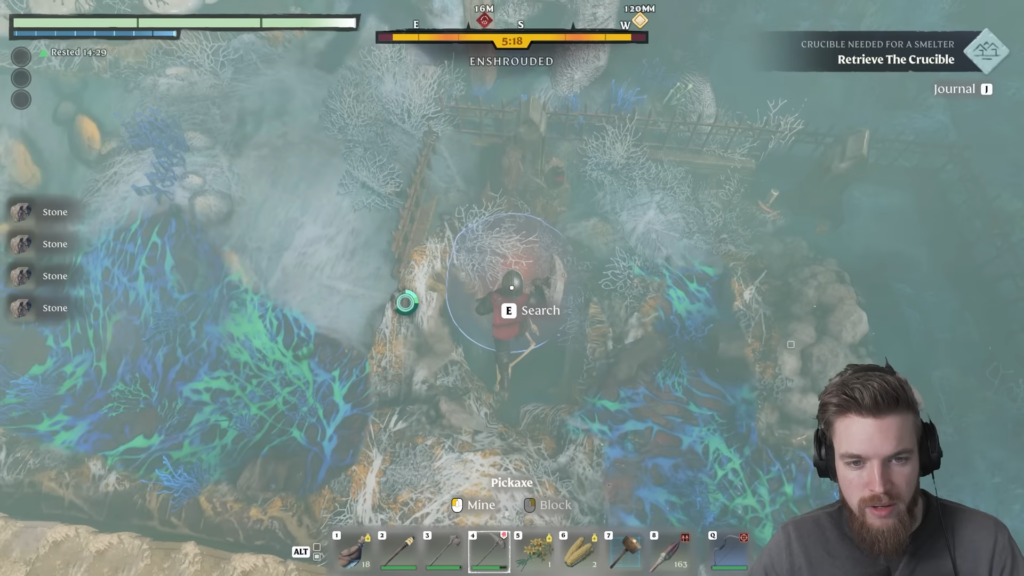
Search the skeleton and there, you will find the Hailscourge. You can also mine the graveyard beside this one and you’ll get some Torn Cloth and other resources.
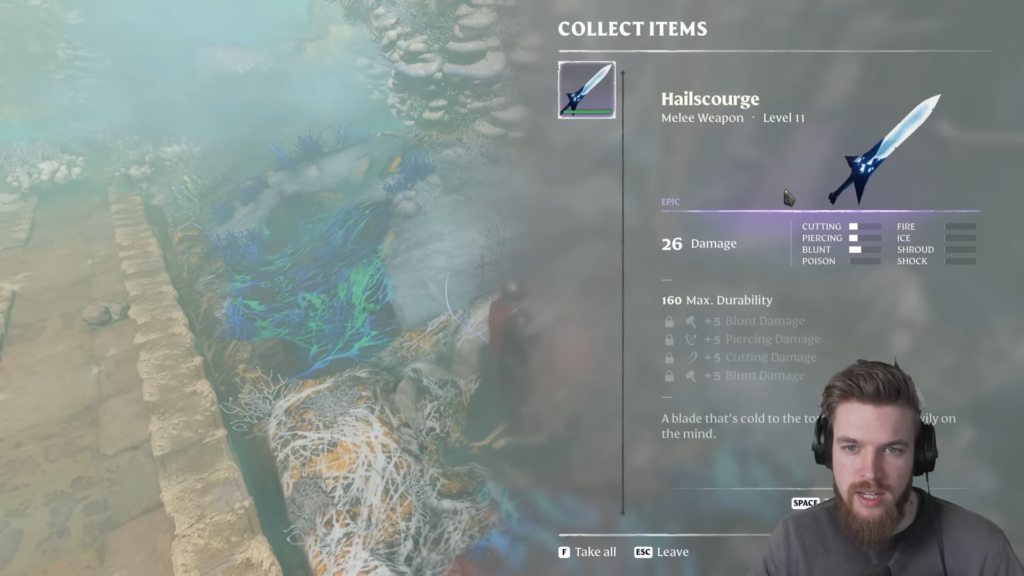
Upgrade the Hailscourge
The Hailscourge, in its base form, is a formidable weapon. However, upgrading it unlocks its true potential, transforming it into a level 15 weapon with unmatched power.
Visit the Blacksmith: Take the Hailscourge to the Blacksmith for upgrading. Each enhancement escalates its damage and effectiveness, culminating in a weapon of unparalleled strength.
At level 15, the Hailscourge stats are:

- 32 Damage
- +6 Blunt Damage
- +6 Piercing Damage
- +6 Cutting Damage
- +6 Blunt Damage
The Curse’s Tale: The lore of Enshrouded hints at a curse associated with the Hailscourge. While this adds a layer of narrative depth, it doesn’t impact the gameplay negatively. Thus, you can wield the Hailscourge without fear of in-game repercussions.
Video Guide
Want a video guide? Check out ESO’s guide on how to get the Hailscourge early in the game.
And there you have it – your comprehensive guide to finding and upgrading the Hailscourge in the world of Enshrouded. This journey is not just about the destination but also the path you take. Embrace the mystery, move with stealth, and the Hailscourge shall be yours.


Hi, Is there any reason why it will not give me the sword after searching the corpse?